Troubleshooting the Desktop App
- Last validated: Oct 16, 2026
Overview
This doc outlines common desktop app issues as well as where to find the log files related to various desktop app functionalities, so that end users can independently address problems that arise.
Desktop app requirements
SonicWall uses the following ports and IP addresses for communications between the desktop app and the Access Tier:
Outbound:
- TCP 80
- TCP 443
- TCP 8443
- UDP 51820
- TLS inspection exemption for
net.banyanops.comand<orgname>.trust.banyanops.com.
These ports need to be available in order for the desktop app to function.
Note: If the network blocks UDP 51820, end users can still connect a Service Tunnel by turning on Service Tunnel over TCP port 443 in the desktop app.
Issue: Port 8118
Synopsis
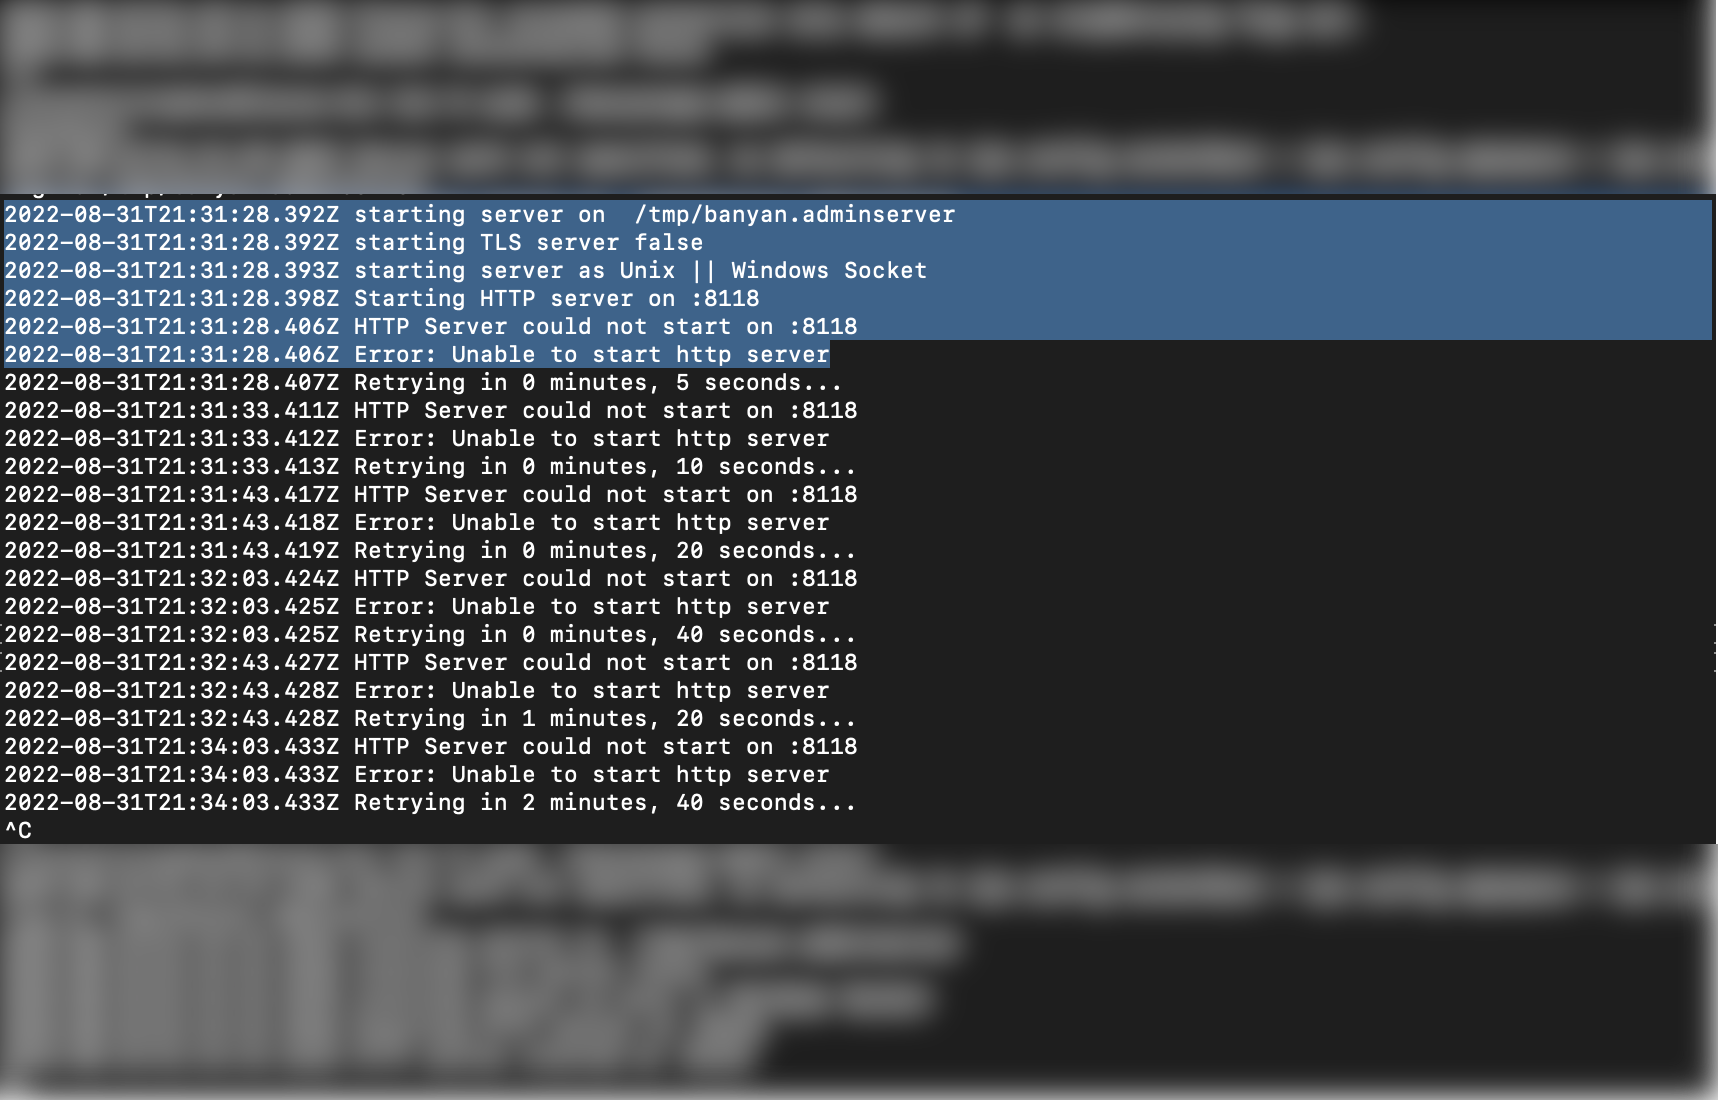
- The desktop app requires port 8118 in order to run;
- If an end user is running another process on this port, the desktop app cannot run.
Remediation Steps
macOS:
- In your CLI, run
lsof -i tcp:8118. This will indicate which process is currently running on port 8118. - In your CLI, enter
kill [process number]. - Run the desktop app installer again, and log into the desktop app.
Once these steps are completed, end users should be able to successfully use the desktop app.
Issue: The Add Organization option is missing
Synopsis
- The Add Organization option appears on the My Organizations screen in the desktop app. It is only displayed when an admin has explicitly enabled multiple-organization support. When it is not enabled, My Organizations lists the single registered organization and offers only Unregister Device.
- On devices that an admin deployed through the zero touch script or the Windows MSI deploy path, the option is displayed only when
mdm_multi_orgis set totruein themdm-config.jsonfile. If the parameter is absent or set tofalse, the option is not displayed. Earlier releases of the app did not hide the option when the parameter was unset, which is why a user may have been able to add organizations before upgrading. - On devices where the user installed the app manually and no
mdm-config.jsonfile is present, multiple organizations are always allowed and no configuration is needed.
Remediation Steps
Check whether an mdm-config.json file exists in the Global Config Directory on the device:
| Operating System | Global Config Directory |
|---|---|
| macOS | /etc/sonicwallcse |
| Windows | C:\ProgramData\SonicWallCSE (ProgramData is a hidden folder) |
| Linux | /etc/sonicwallcse |
Then complete the following steps:
-
If the file exists, the device is treated as an admin-deployed install. Ask your admin to set
mdm_multi_orgtotrueand push the updated configuration through your Device Manager. In the zero touch scripts and in the Windows MSI installer, the corresponding input parameter is$ALLOW_MULTIORG. For details, see Configuring the mdm_multi_org parameter. -
Quit the desktop app completely and confirm that no app process is still running before restarting it, so that the app re-reads the configuration file. On Windows, check Task Manager for
SonicWall Cloud Secure Edge.exe; on macOS, check Activity Monitor for SonicWall Cloud Secure Edge.
Note: In earlier versions of the desktop app, the Add Organization option could be restored on an individual device by setting Is_Staged to false in config3.json and removing the Invite Code from mdm-config.json. That procedure does not enable the option on an admin-deployed device. Use mdm_multi_org instead.
If the Add Organization option is still missing after mdm_multi_org has been set to true and the app has been restarted, collect the app log files described below and contact SonicWall Support.
Issue: Service Tunnel does not connect on a restrictive network
Synopsis
- The desktop app is registered and the user can reach CSE-secured web services, but a Service Tunnel fails to connect, or connects and then drops.
- This happens on a specific network, such as airport or hotel Wi-Fi, a school or agency network, or a network that blocks non-standard ports.
- The root cause is usually the network blocking the WireGuard UDP port (
51820by default) that Service Tunnel uses.
Remediation Steps
- In the desktop app, go to Settings > Preferences and toggle on Enable Service Tunnel over TCP. The tunnel then runs over TCP port
443. - Reconnect the Service Tunnel.
- Toggle the setting back off once the user is on an unrestricted network, because tunneling over TCP reduces throughput to roughly 30% of the UDP path.
For what the setting does and when to use it, see Service Tunnel over TCP port 443. For the full diagnostic flow, see Loss of Connectivity on a Restrictive Public Network.
Device registration issues
The following covers common problems end users hit when registering a device for the first time. For any of these, the Run Diagnostic Tool and the App Log Files are the fastest way to capture what happened during registration.
Registration email or one-time passcode not received
When a new user registers a device, CSE sends a verification email (and, where configured, a one-time passcode) to the email address associated with the user’s identity. If it does not arrive:
- Confirm the address CSE is sending to matches the user’s identity-provider email/UPN. A mismatch (for example, after an email-address change in the identity provider) can route the message to the wrong mailbox.
- Check the user’s spam, quarantine, and filtered folders.
- Ensure the organization’s mail security allows messages from the CSE sender domain (
banyanops.com). - Use the app’s resend option to trigger a new message rather than reusing an expired one.
“Error registering your device” (macOS)
This error indicates the app could not complete device registration. To narrow the cause:
- Confirm the outbound ports and TLS-inspection exemptions are in place, including the exemption for
net.banyanops.comand<orgname>.trust.banyanops.com. - Collect the App Log Files and run the diagnostic tool to review the registration and certificate status.
- Reinstall the current desktop app and register again.
“Ran into an issue starting one or more Autorun services”
This message points to the app’s background services failing to start, which blocks registration and connection. Review the Admin Server Log Files for the service that failed to start, then reinstall the current desktop app to reinstate the services. If the services still fail to start, send the log files to Support.
Device stuck in a registration loop
If the app repeatedly returns to the registration prompt, the device is not completing trust-factor collection or is not receiving a valid certificate. Confirm the requirements above are met, collect the App Log Files, and use the diagnostic tool to check the device’s trust and certificate status. For how trust factors are evaluated at registration, see Trust Scoring.
Configuration and Log Files
-
The desktop app automatically installs a
config3.jsonfile and logs files when an end user installs the desktop app on their device. Occasionally, when troubleshooting issues with the desktop app, we may ask you to send us the configuration file and log file from the app. -
The desktop app places these files in a specific directory depending on your Operating System (for desktop app versions
4.0.0and later):
| Operating System | Log Locations |
|---|---|
| macOS | ~/Library/Application Support/sonicwallcse |
| Windows | %APPDATA%/SonicWallCSE |
| Linux | ~/.config/sonicwallcse/logs |
Admin Server Log Files
-
The Admin Service (
sonicwall-cse-adminin desktop app versions4.0.0and later; previouslybanyanapp-admin) is the administrative component of the app. It is responsible for any functionalities in the app that require administrative privileges. -
Users may consult the Admin Server log files to address issues related to app functionalities that require admin privileges.
| Operating System | Log Locations |
|---|---|
| macOS | /etc/sonicwallcse |
| Windows | %PROGRAMDATA%/SonicWallCSE |
| Linux | /etc/sonicwallcse |
WireGuard Service Log Files
-
If end users want to connect to Service Tunnels, the desktop app must install the WireGuard Service, which creates and maintains the WireGuard tunnel interface.
-
Users may consult the WireGuard Service log files to resolve Service Tunnel issues.
| Operating System | Log Locations |
|---|---|
| macOS | /var/log/sonicwallcse/ |
| Windows | %APPDATA%/SonicWallCSE/Logs |
| Linux | /var/log/sonicwallcse |
App Log Files
- Users may consult the App log files to troubleshoot issues related to desktop app installation, registration, or device trust scoring.
| Operating System | Log Locations for desktop app versions 3.28.1 or older |
|---|---|
| macOS | ~/Library/Logs/banyanapp/main.log |
| Windows | %USERPROFILE%\AppData\Roaming\banyanapp\logs\main.log |
| Linux | ~/.config/banyanapp/logs/main.log |
| Operating System | Log Locations for desktop app versions 4.0.0 or later |
|---|---|
| macOS | ~/Library/Logs/sonicwallcse/main.log |
| Windows | %USERPROFILE%\AppData\Roaming\sonicwallcse\logs\main.log |
| Linux | ~/.config/sonicwallcse/logs/main.log |
Proxy Log Files
- Users may consult the Proxy log files to troubleshoot issues related to
sonicwall-cse-proxyorbanyanproxy. These files can be reviewed if the TCP services are not working as expected.
| Operating System | Log Locations |
|---|---|
| macOS | $HOME/Library/Logs/sonicwallcse/sonicwall-cse-proxy |
| Windows | %USERPROFILE%\AppData\Roaming\SonicWallCSE\logs\sonicwall-cse-proxy |
| Linux | $HOME/.config/sonicwallcse/logs/sonicwall-cse-proxy |
Run Diagnostic Tool for troubleshooting
If, in any case, end users are encountering issues (e.g., cannot access a service or register a device) and want to diagnose the issue in the desktop app, they can use the Run Diagnostic tool. End users can also use this diagnostic tool to package logs to send to their administrator.
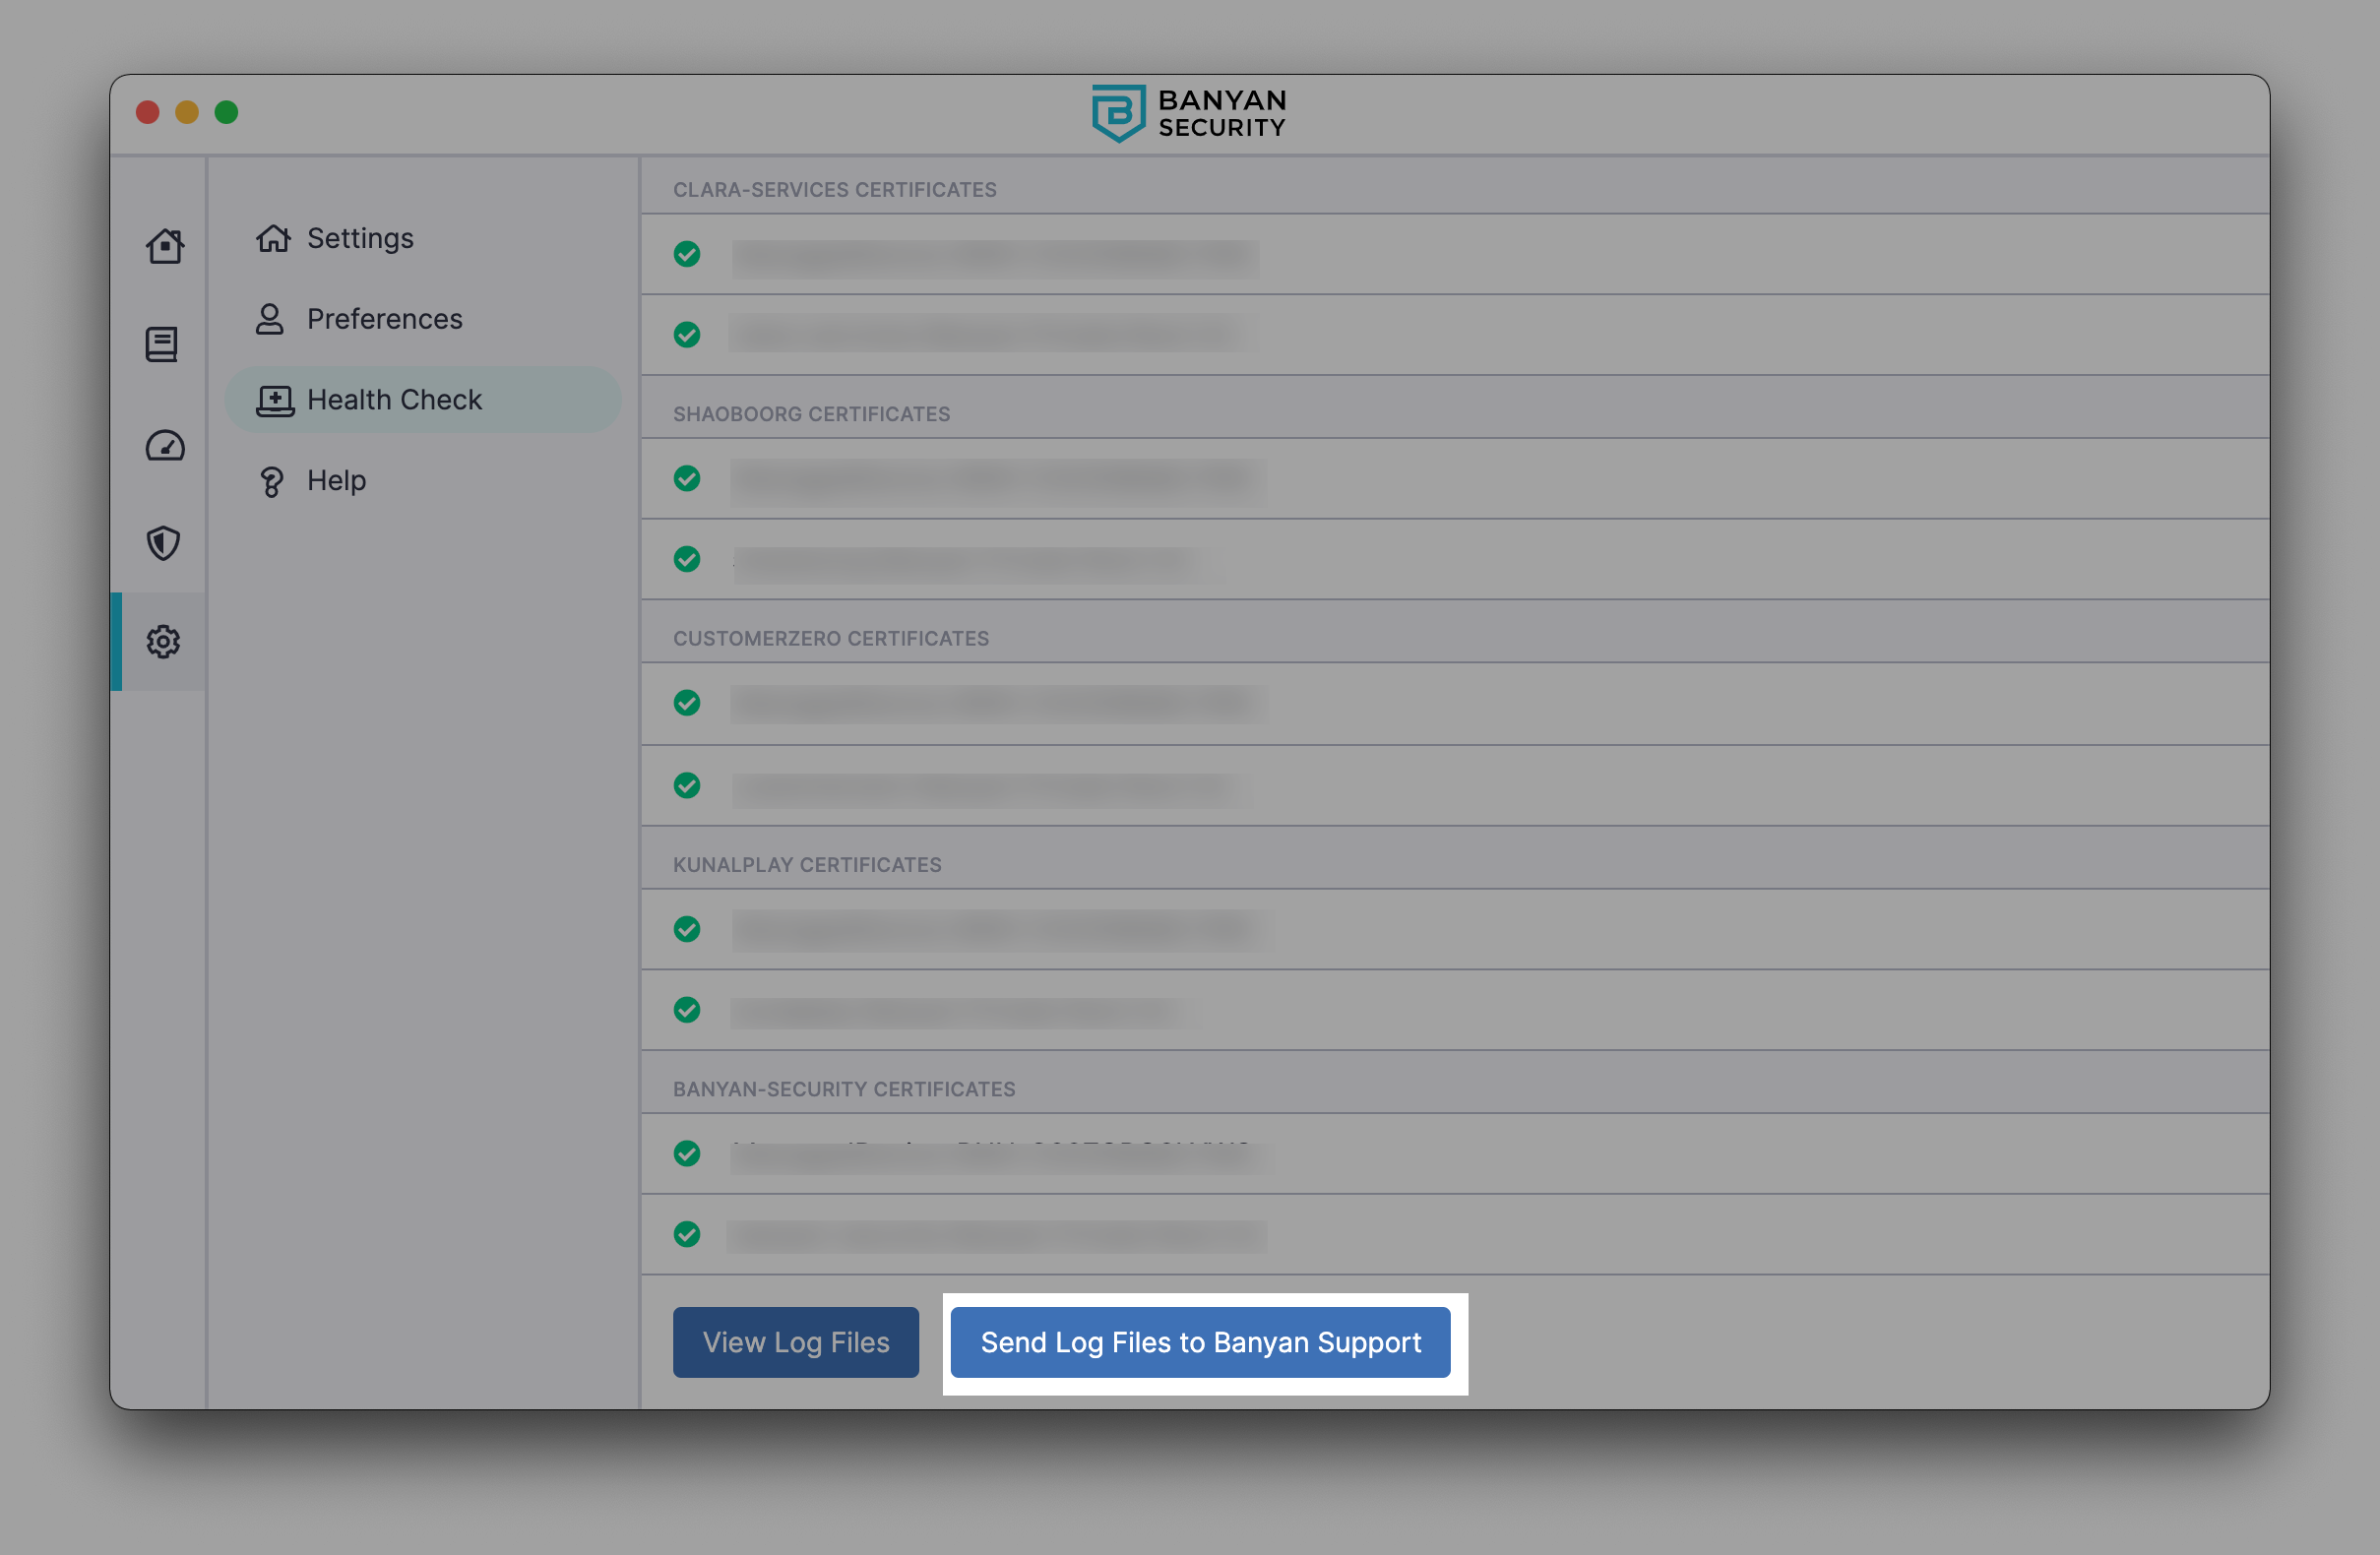
1. Navigate from Settings > Health Check in your desktop app. Select Run Diagnostic Tool to run a health check.
- The Health Check menu will display a list of your device’s properties, the status of your sessions and services, and your device features (showing which security measures you have in place and whether your system is up-to-date). It will also display the status of certificates from all of your orgs.
- If Internet Threat Protection (ITP) is on, the Internet Threat Protection section shows the name of the ITP policy assigned to the device and the status of the DNS proxy.
2. At the bottom of the Health Check menu, select View Log Files to download your app logs.
Send app log files directly to Support
If end users are encountering issues and require support to help diagnose the issue in the desktop app, they can send app log files directly to Support.
1. Navigate from Settings > Health Check > Run Diagnostic Tool.
2. Select Run Diagnostic Tool, scroll to the bottom of the Health Check page, and select Send Log Files to CSE Support.