Configure a SonicOS firewall as a Cloud Secure Edge Connector
End-to-end setup for using a Gen7+ SonicWall firewall as a CSE Connector, from firmware prerequisites through user testing
- Last validated: Jul 15, 2026
- Overview
- How the SonicOS Connector works
- Supported SonicWall product versions
- Prerequisites
- Step 1 — Activate Cloud Secure Edge on the firewall
- Step 2 — Configure the Connector in SonicOS
- Step 3 — View Connector status in SonicOS
- Step 4 — Configure access control in the CSE Command Center
- Step 5 — Deploy the CSE App and test connectivity
- Step 6 — View CSE Connector log events in SonicOS
- Constraints at a glance
- Support
Overview
Cloud Secure Edge (CSE) supports two edge deployment models for accessing private organizational resources: the Self-hosted Private Edge and the Global Edge Network. SonicOS 7.1.2 and later can be deployed as a CSE Connector against the Global Edge Network, allowing a Gen7+ SonicWall firewall to act as the on-premises endpoint of the secure tunnel.
This guide walks an admin through:
- The Connector concepts that govern how a SonicOS-based Connector behaves.
- The supported SonicWall product versions.
- Firmware and feature activation in the firewall.
- Connector configuration in SonicOS (private CIDRs and DNS domains).
- Matching configuration on the CSE Command Center (Connector binding, Service Tunnel, access policy, directory user).
- End-user installation of the CSE Desktop App and connectivity testing.
- Connector log events in SonicOS.
For the basic Firewalls inventory view inside the CSE Command Center, see Install Cloud Secure Edge Connector on your SonicWall firewall.
How the SonicOS Connector works
The SonicOS-based Connector is a dial-out connector that establishes secure outbound tunnels to the CSE Global Edge Network. Key characteristics:
- The Connector can be deployed in any location that has internal service connectivity.
- All connectivity to CSE is outbound; no inbound ports need to be opened on the firewall.
- Traffic enters the firewall over WireGuard tunnels from CSE Points of Presence (PoPs). From the firewall’s perspective, only inbound traffic from the WAN to protected zones is permitted.
- A SonicOS Group Address Object is created automatically per Connector. Administrators add allowed private IPv4 addresses to this group to publish the CIDRs that CSE end users will be able to reach.
- Administrators also specify the private DNS domains that the CSE client must resolve through the firewall. These domains are served by the firewall’s Split DNS feature.
- Access control is enforced by CSE infrastructure, not by the SonicOS firewall.
Supported SonicWall product versions
| SonicWall product | Minimum version |
|---|---|
| SonicOS | 7.1.2 or higher |
| Network Security Manager (NSM) SaaS | 2.5.0 or higher |
Prerequisites
- The SonicWall firewall is registered in the same MySonicWall tenant that holds the CSE trial or paid license.
- A CSE instance is provisioned in that same tenant.
- Administrative access to the firewall and to the CSE Command Center.
Step 1 — Activate Cloud Secure Edge on the firewall
1.1 Back up the current firewall configuration
- Log in to the SonicWall firewall.
- Navigate to Device > Settings > Firmware and Settings.
- Create a backup and export the configuration file.
1.2 Upgrade to SonicOS 7.1.2 or later
Cloud Secure Edge requires SonicOS 7.1.2 or later. After the upgrade completes and the firewall reboots, the Cloud Secure Edge option appears under Network > Cloud Secure Edge.
1.3 Enable Cloud Secure Edge connectivity
- Navigate to Network > Cloud Secure Edge > Access Settings.
- Enable the option labeled Enable Cloud Secure Edge Connectivity.
- Click Accept.
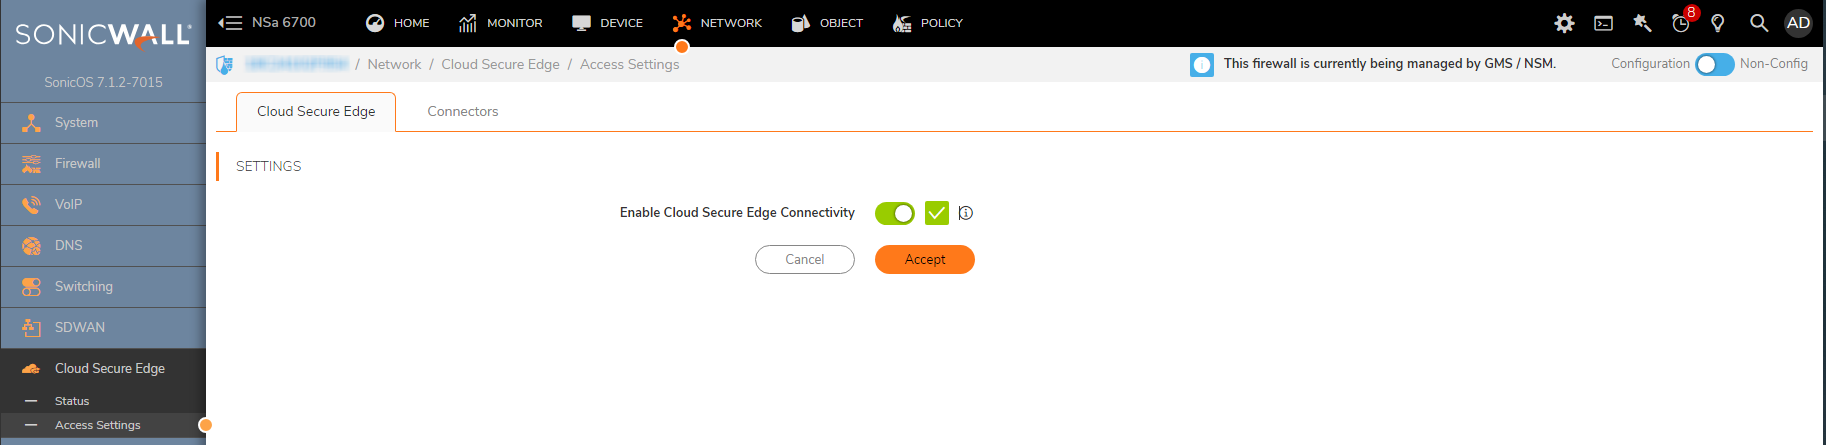
1.4 Read the connectivity status indicator
After the firewall has registered with CSE, the page displays a tunnel-state indicator:
| Indicator | Meaning |
|---|---|
| Green | All tunnel connections are error-free. |
| Orange | Some tunnel connections are up; one or more are degraded. |
| Red | All tunnel connections have errors; details are displayed inline. |
Hover over the Connector status tooltip for additional context.
Step 2 — Configure the Connector in SonicOS
2.1 Open Connector settings
- Navigate to Network > Cloud Secure Edge > Access Settings.
- Select the Connectors tab. The synchronized Connector is listed with its enabled status. If it is not enabled by default, toggle the Enable option.

2.2 Publish private CIDRs
- Select the Connector and click the Configure icon.
- Open the Private CIDRs tab.
- Add the network resources you want to publish to CSE end users to the Default CSE Allowed CIDRs group.
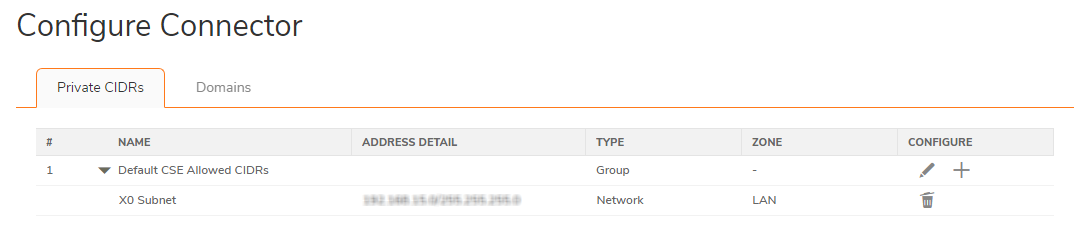
Note: A SonicOS-based Connector supports a maximum of 64 private CIDRs. Address objects beyond the first 64 may appear in the Default CSE Allowed CIDRs group on the firewall but are not advertised to CSE. You can optionally create reusable Address Objects under Object > Match Objects > Addresses > Address Objects. The Default CSE Allowed CIDRs group itself cannot be deleted; only its members can be edited.
2.3 Publish private DNS domains
1. Open the Domains tab in the Connector configuration view, or navigate to Network > Cloud Secure Edge > Access Settings > Domains.
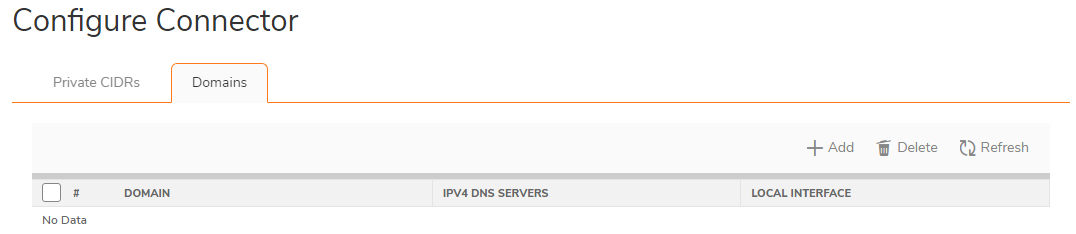
2. Click + Add to add a domain entry.
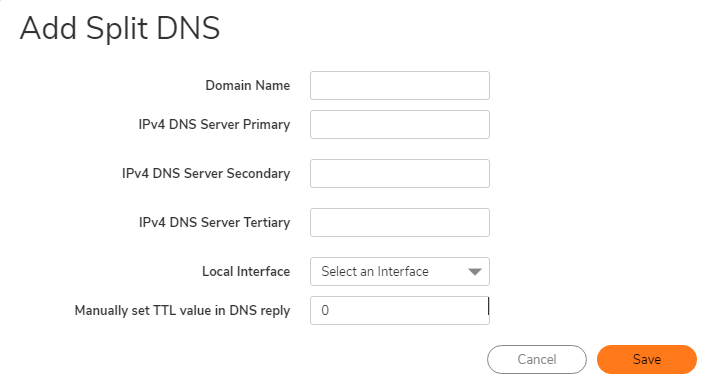
3. Repeat for each domain that CSE clients should resolve through the firewall.
Supported entry formats:
- Wildcard — for example,
*.sonicwall.localallows resolution of every subdomain. - Specific — for example,
a.sonicwall.localorsonicwall.com.
Note: A SonicOS-based Connector supports a maximum of 4 published DNS domains. The Domains tab includes search, refresh, and a filter for the WireGuard interface.
Step 3 — View Connector status in SonicOS
- Navigate to Network > Cloud Secure Edge > Status.
- The page lists each Connector tunnel to the Global Edge Network PoPs along with its current state.

The Connector name displayed in SonicOS matches the auto-generated name assigned in the CSE Command Center. Connector names can be up to 127 characters.
Step 4 — Configure access control in the CSE Command Center
Access policies for the SonicOS-based Connector are configured in the CSE Command Center, not on the firewall.
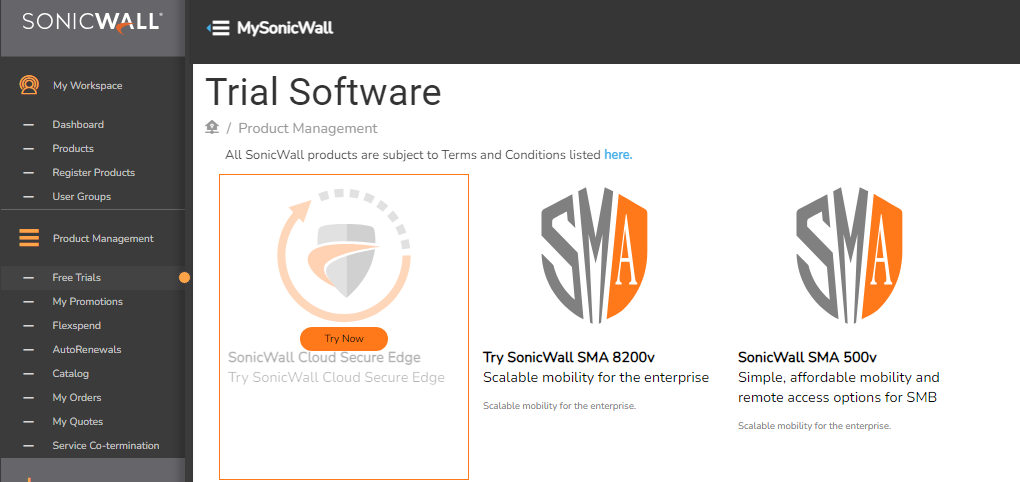
4.1 Launch the CSE console (the Command Center) from MySonicWall
1. In MySonicWall, navigate to Services > Available Services.
2. Hover over Capture Security Center and click Launch.
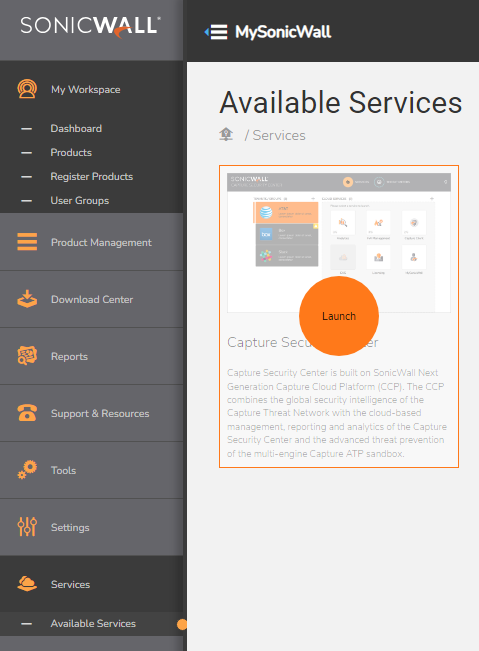
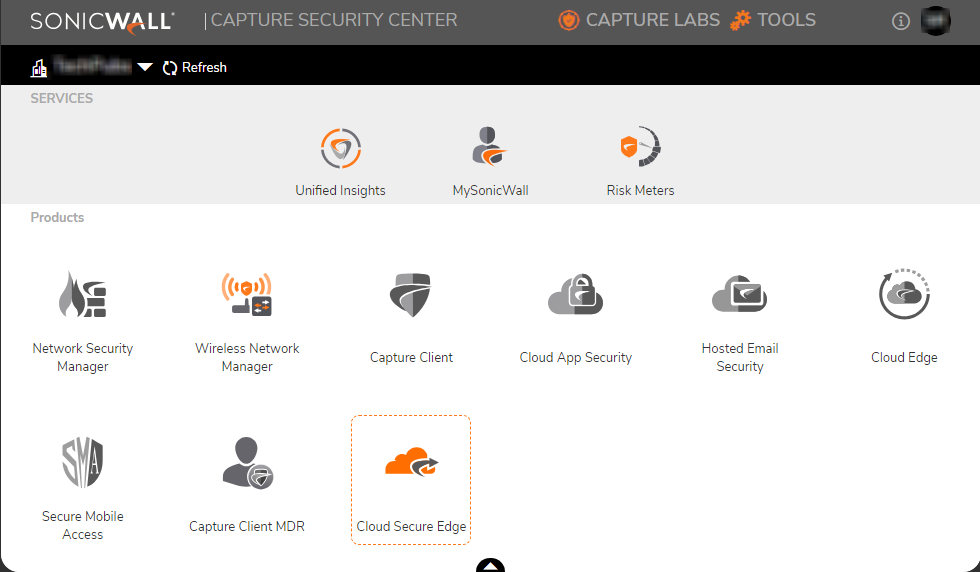
3. Select your tenant. If your tenant or product is unavailable, click Refresh and check availability.
4. Click the Cloud Secure Edge icon to sign in to the CSE console with single sign-on (SSO).
4.2 Confirm the Connector is registered
In the CSE console, navigate to Networks > Connectors and confirm that the configured SonicWall firewall appears in the list. The Connector is shown with the MySonicWall Friendly Name and the firewall Serial Number as its name.
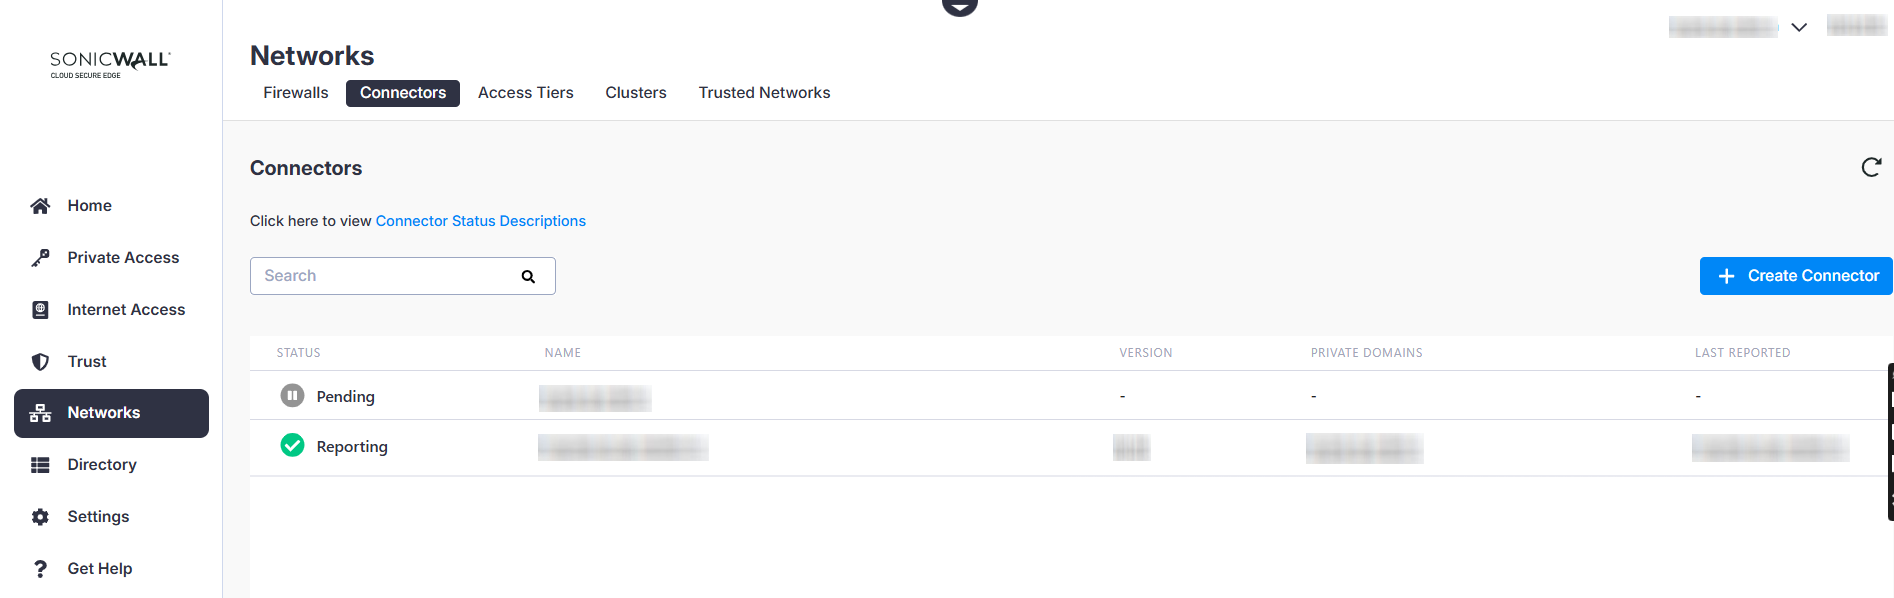
Do not delete the Connector in the CSE console. Deleting the Connector here will break the link with the SonicOS-side configuration.
4.3 Create a Service Tunnel that binds to the Connector
1. Navigate to Private Access > Service Tunnels and click + Add Service Tunnel.
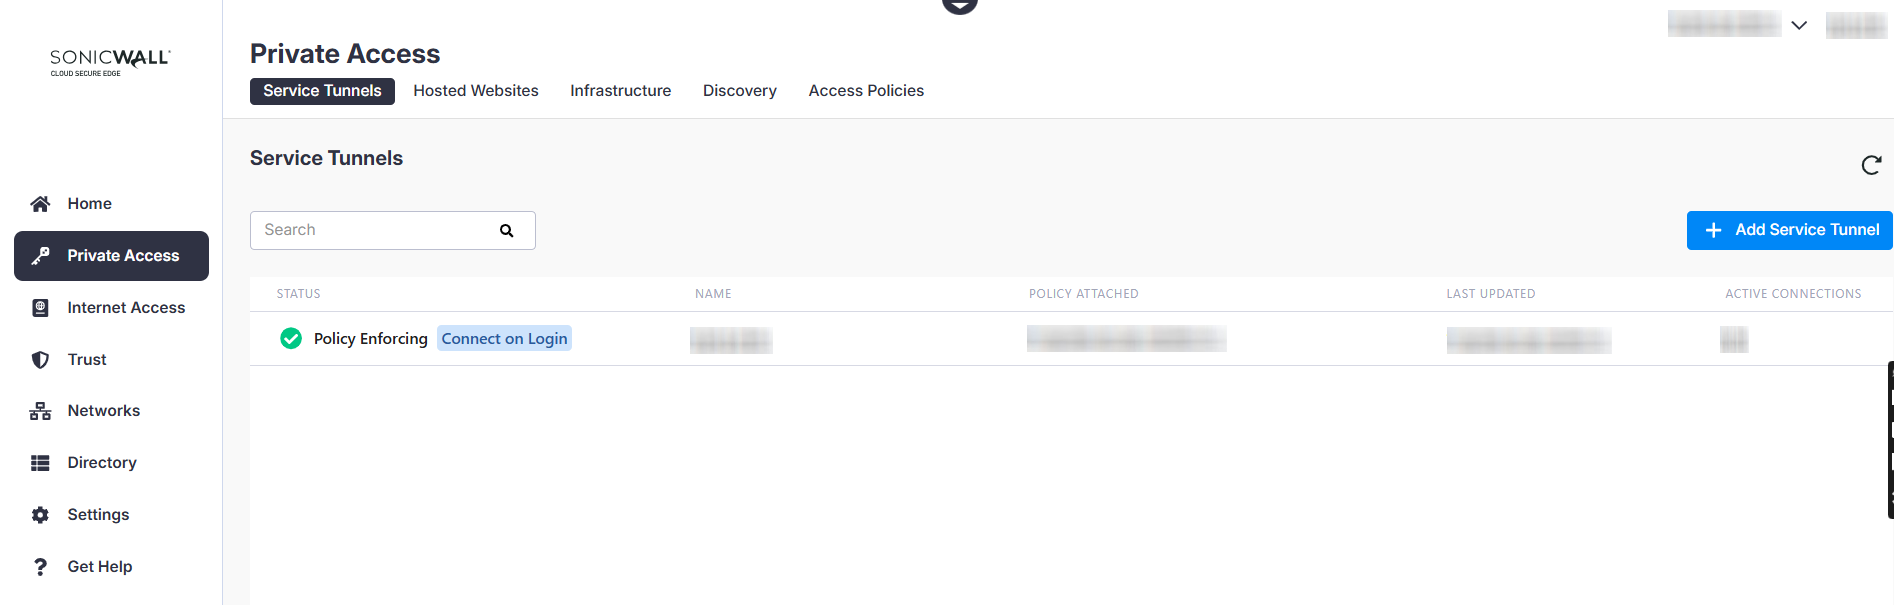
2. In the General Information section, enter a service tunnel name.
3. In the Network Settings section, click + Add Network and select your SonicWall firewall Connector.
Note: A Service Tunnel that targets a SonicOS Connector supports 1 Connector and a maximum of 16 PoPs per Service Tunnel.
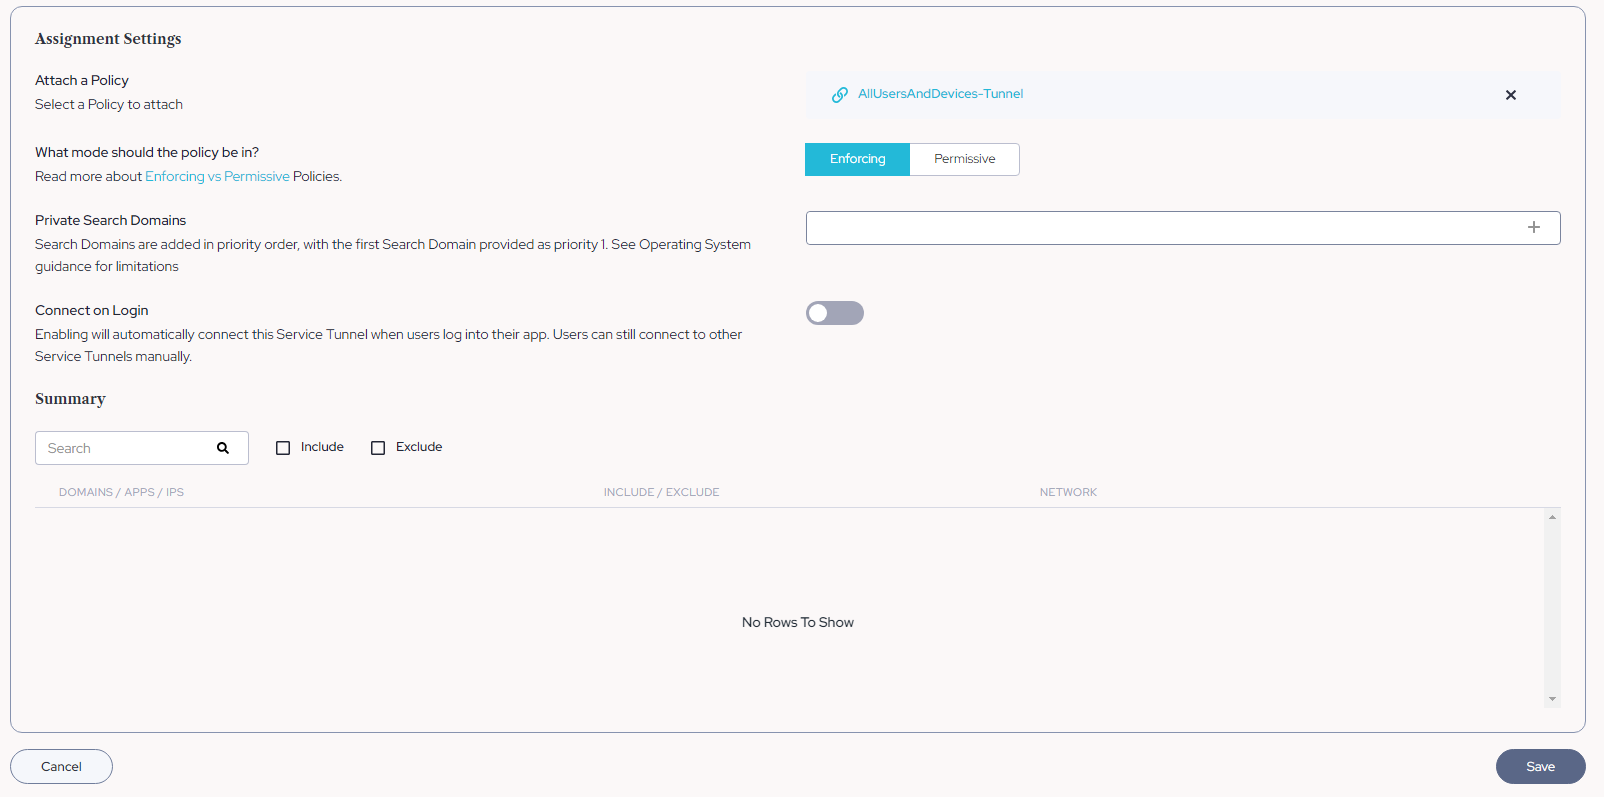
4.4 Attach an access policy
- In the Assignment Settings section of the Service Tunnel, click Attach a Policy.
- Search for and select the policy you want to apply. For details on building access policies, see the access policies documentation in the CSE Command Center.
- Click Save.
4.5 Add a directory user for testing
- Navigate to Directory > Users.
- Click Add User and enter the user’s name and corporate email address.
- Click Save. The user receives a CSE invitation email with their account details and an invite code.
- The user completes sign-up using the link in the email and sets a CSE password. This password is what they will use to sign in to the CSE Desktop App.
Step 5 — Deploy the CSE App and test connectivity
5.1 Install the CSE Desktop App
1. In the CSE Command Center, navigate to Settings > CSE Client and download the installer for the user’s operating system.
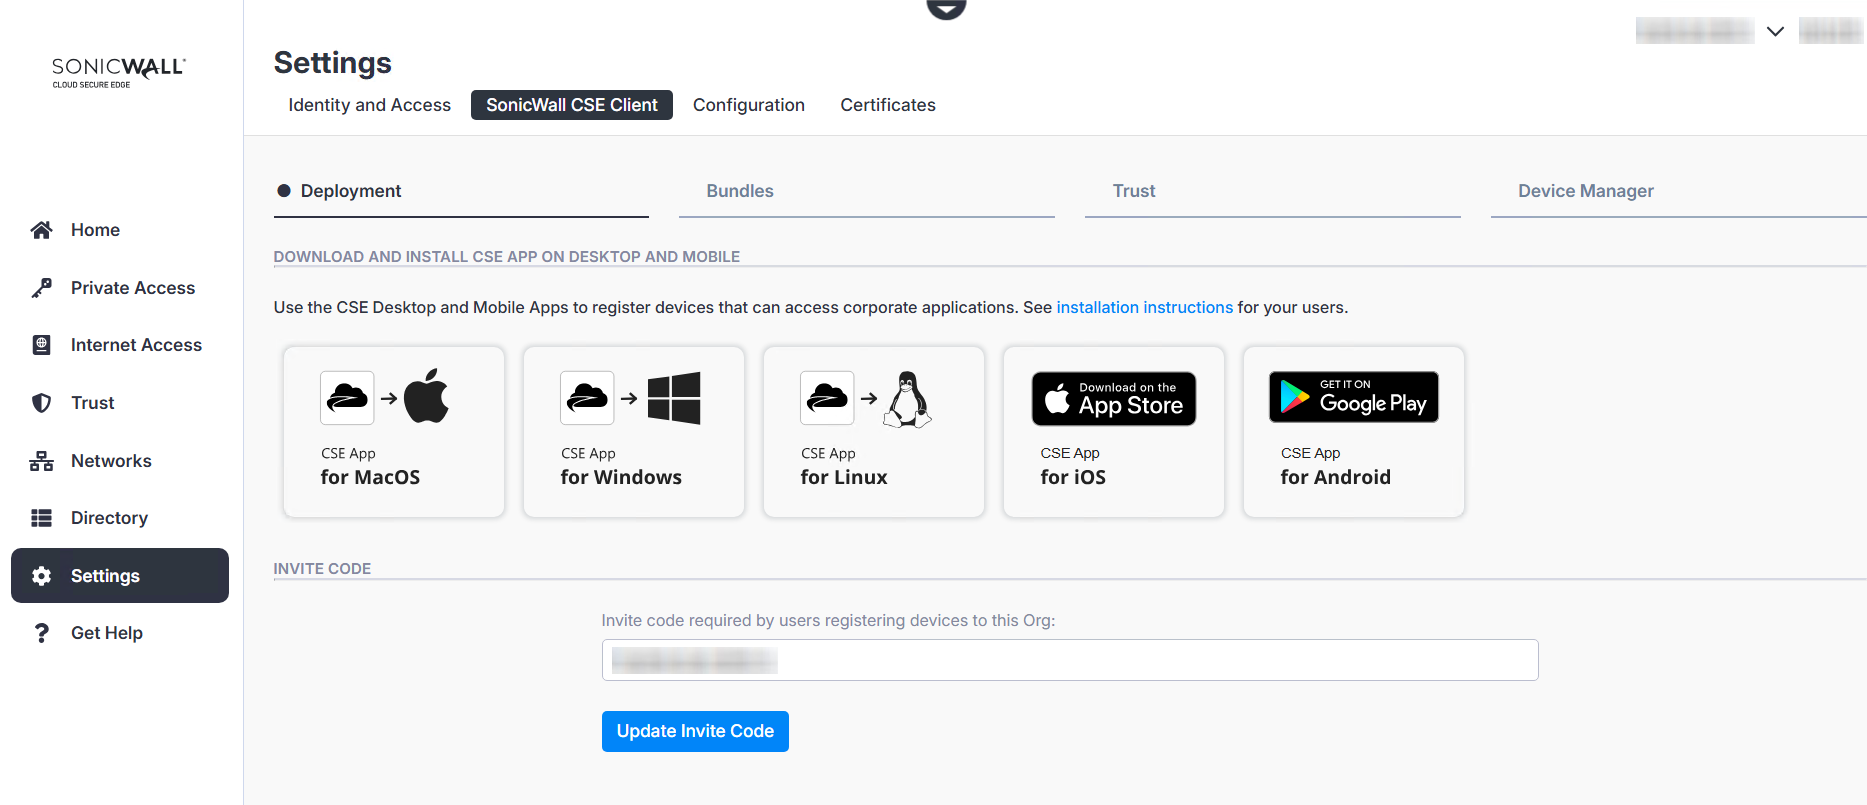
2. Install the CSE Desktop App on the end-user device. When prompted, paste the invite code from the CSE invitation email so the app registers against the correct organization.
3. The end user signs in with the credentials they set during sign-up (see Step 4.5).
5.2 Test connectivity to a protected resource
- With the CSE Desktop App showing Connected status, ping a private resource (for example, a host inside one of the CIDRs you published in Step 2.2). The ping should succeed.
- In the CSE Desktop App, disconnect from the Service Tunnel. The same ping should now time out, confirming that traffic only flows when the user is connected through CSE.
Step 6 — View CSE Connector log events in SonicOS
- On the SonicWall firewall, navigate to Device > Log > Settings.
- Find the Cloud Secure Edge log category.
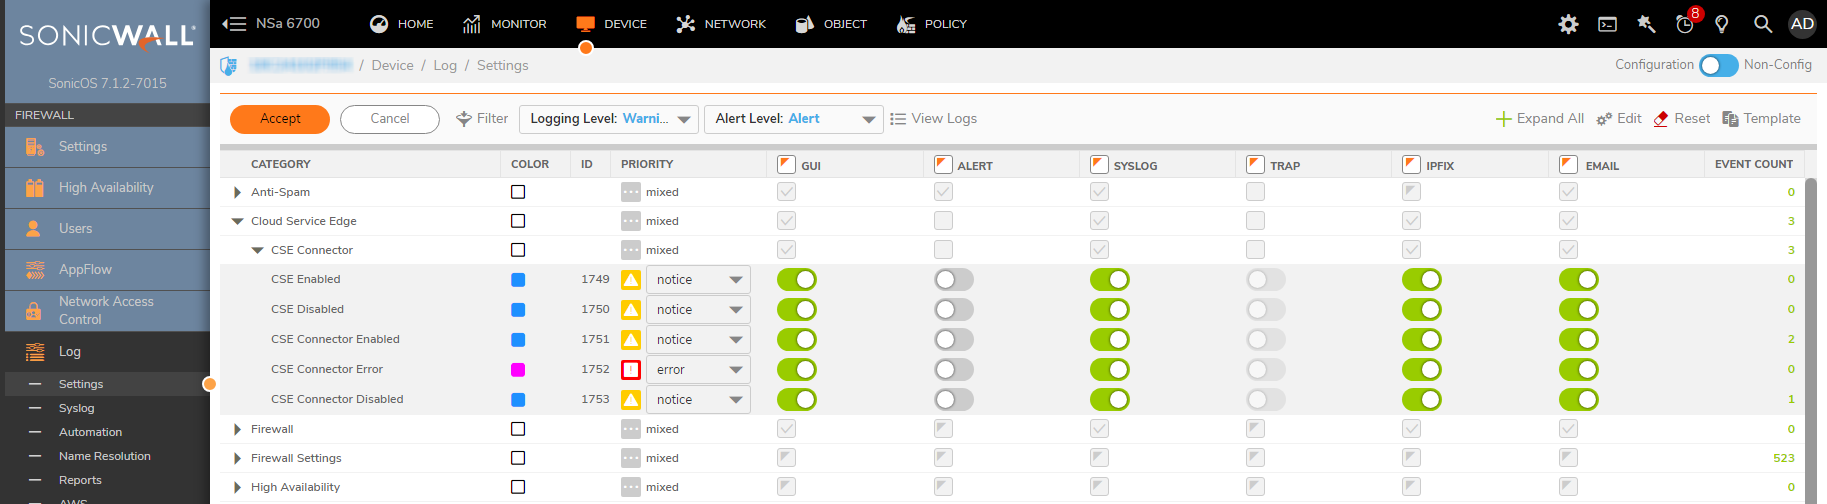
Event types under this category include:
- CSE Connector
- CSE Enabled
- CSE Disabled
- CSE Connector Error
- CSE Connector Enabled
- CSE Connector Disabled
What each event records:
- CSE Enabled / Disabled events record the date, time, and the resulting status.
- CSE Connector Enabled / Disabled events record the date, time, and the Connector name.
- CSE Connector Error events are logged after retry exhaustion when the firewall fails to reach the License Manager or the CSE Command Center, or when the License Manager returns an explicit error (for example, an organization creation failure).
The WireGuard module is instrumented to report packet-handling events so that tunnel-level issues surface in the same log stream. Existing SonicOS functionality can forward these events to external servers, including Network Security Manager (NSM).
Heartbeat summary values
Summarized Connector status is reported in heartbeat messages with the following values:
| Value | Meaning |
|---|---|
| 0 | All tunnels operational. |
| 1 | Some tunnels operational. |
| 2 | All tunnels down. |
Constraints at a glance
| Limit | Maximum |
|---|---|
| Private CIDRs per Connector | 64 |
| Published DNS domains per Connector | 4 |
| Connectors per Service Tunnel | 1 |
| PoPs per Service Tunnel | 16 |
| Connector name length | 127 characters |
Support
For SonicWall product issues outside the scope of this guide, open a case at https://helpdesk.sonicwall.com.